

Learning how to home networking doesn’t require a computer science degree. Most people assume setting up a home network is complicated, but the process follows a straightforward pattern that anyone can master.
A home network connects devices like computers, smartphones, smart TVs, and gaming consoles to the internet and to each other. This connection lets users share files, stream media, and access the web from anywhere in the house. Whether someone wants faster Wi-Fi in the bedroom or needs to connect a home office, understanding home networking basics makes all the difference.
This guide breaks down everything beginners need to know, from essential equipment to security best practices.
Table of Contents
ToggleKey Takeaways
- Home networking connects all your devices to the internet and each other through a router, enabling file sharing, streaming, and web access throughout your house.
- Essential equipment includes a modem, router, and Ethernet cables—with optional mesh systems for larger homes with dead zones.
- Secure your home network by changing default credentials, enabling WPA3 encryption, and creating a separate guest network for visitors.
- Position your router in a central location away from walls and interference sources like microwaves to maximize Wi-Fi coverage and speed.
- Troubleshoot slow speeds by first testing a wired connection, then repositioning your router or upgrading to a mesh system if needed.
Understanding the Basics of Home Networking
A home network is a group of devices connected together, typically through a router. The router acts as the central hub, directing traffic between devices and the internet.
There are two main types of home networking connections:
- Wired (Ethernet): Uses physical cables to connect devices directly to the router. This method offers faster speeds and more stable connections.
- Wireless (Wi-Fi): Connects devices through radio signals. Wi-Fi provides convenience and mobility but may experience interference or slower speeds at longer distances.
Most modern home networks use both. A desktop computer might connect via Ethernet cable for maximum speed, while laptops and phones use Wi-Fi for flexibility.
The internet service provider (ISP) delivers internet access to the home through a modem. The modem converts the ISP’s signal into data the router can distribute. Many ISPs now provide combo modem-router units, which simplifies the setup process.
Bandwidth determines how much data can flow through the network at once. Higher bandwidth means more devices can stream, download, and browse without slowing each other down. When planning home networking, users should consider how many devices will connect simultaneously.
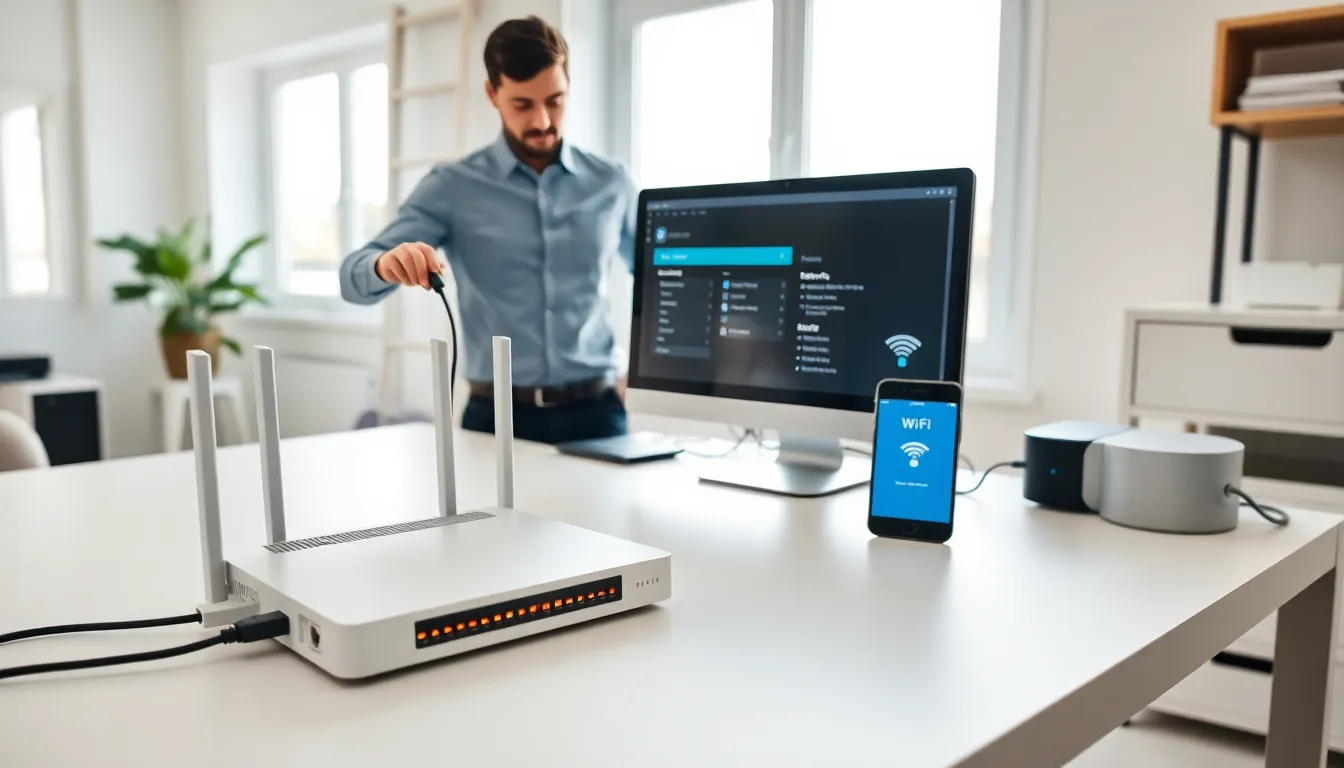
Essential Equipment You Need
Setting up home networking requires a few key pieces of hardware. Here’s what beginners need:
Modem
The modem connects the home to the ISP. Cable, DSL, and fiber connections each require specific modem types. Some users rent modems from their ISP, while others purchase their own to save on monthly fees.
Router
The router creates the local network and manages traffic between devices. Modern routers support Wi-Fi 6 or Wi-Fi 6E standards, which offer faster speeds and better performance with multiple connected devices.
Ethernet Cables
Cat6 or Cat6a cables work well for most home networking setups. These cables connect devices that need stable, high-speed connections, like gaming PCs, smart TVs, or home office computers.
Network Switch (Optional)
A switch expands the number of available Ethernet ports. If the router has four ports but the home needs eight wired connections, a switch fills that gap.
Mesh Wi-Fi System (Optional)
Larger homes or those with thick walls may benefit from mesh systems. These use multiple access points to blanket the home in consistent Wi-Fi coverage. Mesh systems eliminate dead zones where traditional routers struggle to reach.
Budget-conscious buyers can start with a basic modem and router combo, then upgrade as their home networking needs grow.
Step-by-Step Setup Process
Follow these steps to set up home networking from scratch:
Step 1: Connect the Modem
Plug the modem into the wall outlet (coaxial cable for cable internet, phone jack for DSL, or fiber terminal for fiber). Connect the modem’s power adapter and wait for the status lights to stabilize. This usually takes 2-5 minutes.
Step 2: Connect the Router
Use an Ethernet cable to connect the modem’s output port to the router’s WAN or Internet port. Power on the router and wait for it to boot up.
Step 3: Access Router Settings
Open a web browser and type the router’s IP address (commonly 192.168.1.1 or 192.168.0.1). Log in using the default credentials printed on the router or in its manual.
Step 4: Configure Basic Settings
Create a custom network name (SSID) that’s easy to remember but doesn’t reveal personal information. Set a strong Wi-Fi password using WPA3 encryption if available, or WPA2 as a minimum.
Step 5: Connect Devices
On each device, search for available Wi-Fi networks, select the new network name, and enter the password. For wired connections, simply plug Ethernet cables from devices into the router’s LAN ports.
Step 6: Test the Connection
Run a speed test on a connected device to confirm the home networking setup is working properly. Compare results to the speeds promised by the ISP.
Securing Your Home Network
Home networking security protects personal data and prevents unauthorized access. Unsecured networks invite hackers, bandwidth thieves, and potential legal issues.
Change Default Credentials
Routers ship with generic usernames and passwords that hackers know by heart. Change both the admin login and Wi-Fi password immediately after setup.
Enable Strong Encryption
WPA3 provides the strongest protection currently available. If devices don’t support WPA3, use WPA2-AES. Never use WEP, it’s outdated and easily cracked.
Update Firmware Regularly
Router manufacturers release firmware updates that patch security holes. Enable automatic updates or check for new firmware monthly.
Create a Guest Network
A separate guest network lets visitors access the internet without exposing primary devices. This keeps smart home gadgets and personal computers isolated from guests’ potentially infected devices.
Disable WPS
Wi-Fi Protected Setup (WPS) makes connecting devices easier but creates security gaps. Turn it off in router settings.
Use a Firewall
Most routers include built-in firewalls. Confirm this feature is enabled to block suspicious incoming traffic.
Strong home networking security requires ongoing attention. Check connected device lists periodically to spot unfamiliar connections.
Troubleshooting Common Issues
Even well-planned home networking setups encounter problems. Here’s how to fix the most frequent issues:
Slow Internet Speeds
First, test speeds with a wired connection to rule out Wi-Fi issues. If wired speeds match ISP promises but Wi-Fi is slow, the router may need repositioning. Place routers in central locations, away from walls and metal objects. Microwaves, cordless phones, and baby monitors can also interfere with Wi-Fi signals.
Devices Won’t Connect
Restart both the device and the router. If that fails, forget the network on the device and reconnect with the password. Check that the router hasn’t reached its device limit, budget routers sometimes struggle with more than 15-20 simultaneous connections.
Intermittent Disconnections
Overheating routers drop connections. Ensure adequate ventilation around the router. Firmware bugs also cause instability, so update to the latest version. If problems persist, the router may be failing and need replacement.
No Internet Access
Check the modem’s status lights first. A blinking or red light often indicates an ISP outage. Restart the modem by unplugging it for 30 seconds. Contact the ISP if the problem continues.
Dead Zones
Areas with weak Wi-Fi signal benefit from Wi-Fi extenders or mesh systems. For single-room dead zones, a powerline adapter can carry the network signal through electrical wiring.
Systematic troubleshooting solves most home networking problems within minutes.


